Related articles:
Platform uploads, Library & Inbox, Posts, Galleries, Legal
How upload forms work
Upload forms provide a direct channel for your community to share content with your brand outside of social media platforms.Learn how to set up a content policy in Legal settings.
Create an upload form
- Navigate to UGC -> Uploads
- Click New folder
- Enter a name for your form (for internal organization)
Embed an upload button in a gallery
Add upload functionality directly to your website galleries for seamless content collection.
Uploaded posts still need to be approved by your team before going live on your website.
- Navigate to UGC -> On-site widgets
- Open the gallery you want to add upload functionality to
- Click Design to access gallery settings
- Enable Upload button
- Select the upload form to use
- Click Save changes
Share a link to your upload form
Each upload form generates a unique link and QR code that you can share across marketing channels.- Upload link: Perfect for email campaigns, social media stories, and collecting content that influencers did not post on social media
- QR code: Perfect for packaging, print material, event material, and in-store displays
Using the upload link
- Navigate to UGC -> Uploads
- Select the upload form you want to share
- Click Share to access the upload link
- Copy the URL
Using QR codes
- Navigate to UGC -> Uploads
- Select the upload form you want to share
- Click Share to access the upload link
- Download the QR code
Localization
Upload form copy can be translated under Settings -> Translations. On-site widgets determine what language to display based on your Markets. This is also reflected in upload forms embedded in a gallery. Upload links can include a language parameter to use the same upload form for multiple languages. For example,https://upload.cevoid.com/poderosa-world?language=de displays the upload form in German.
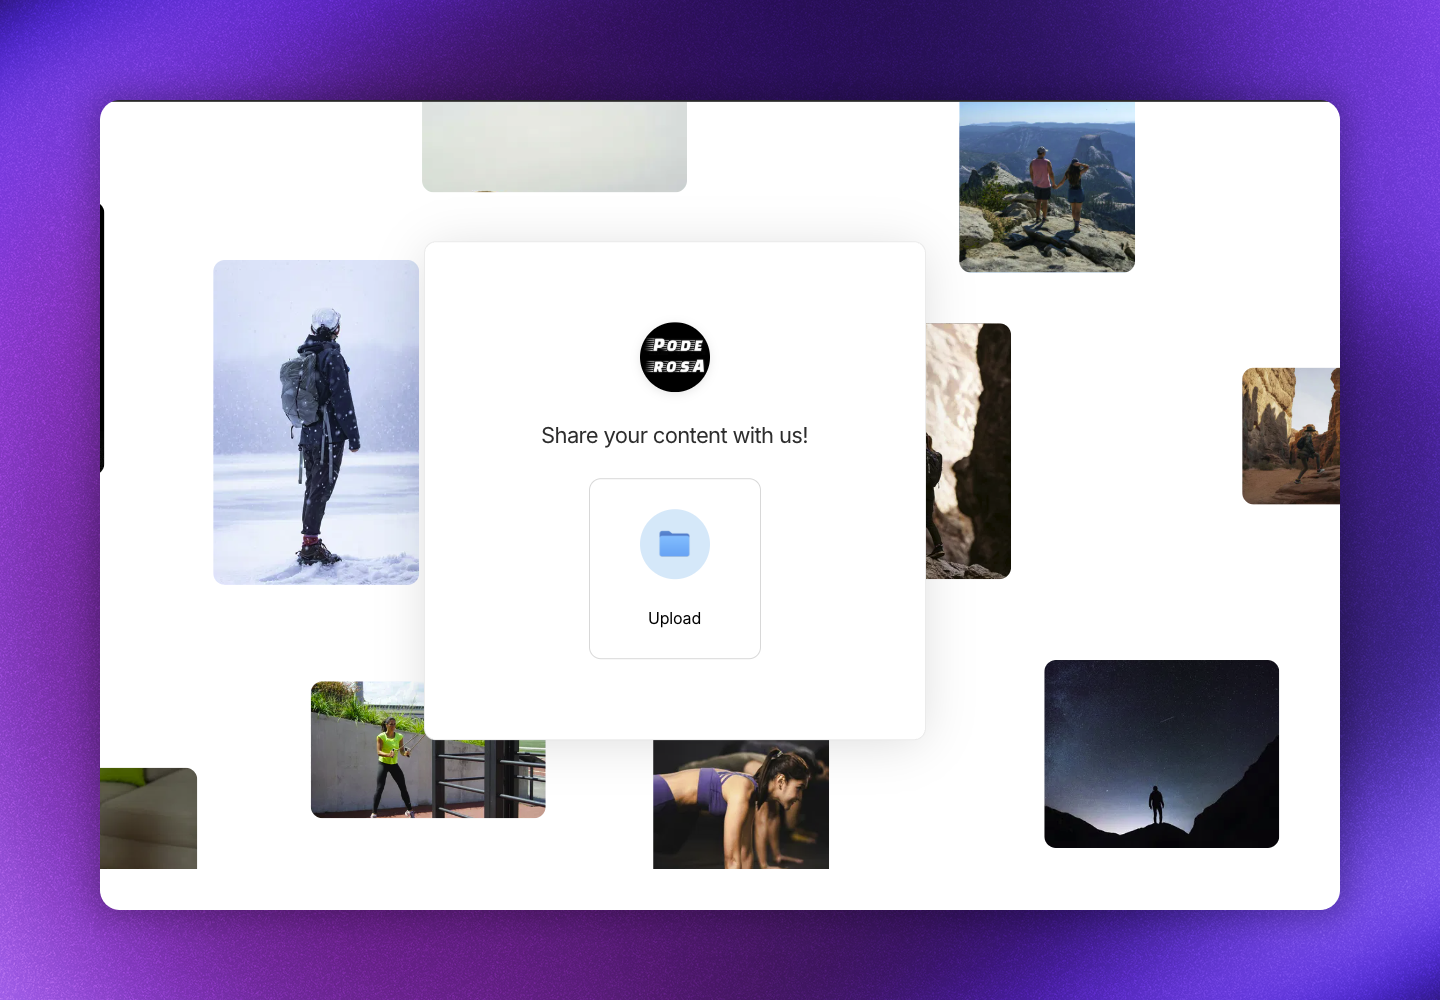
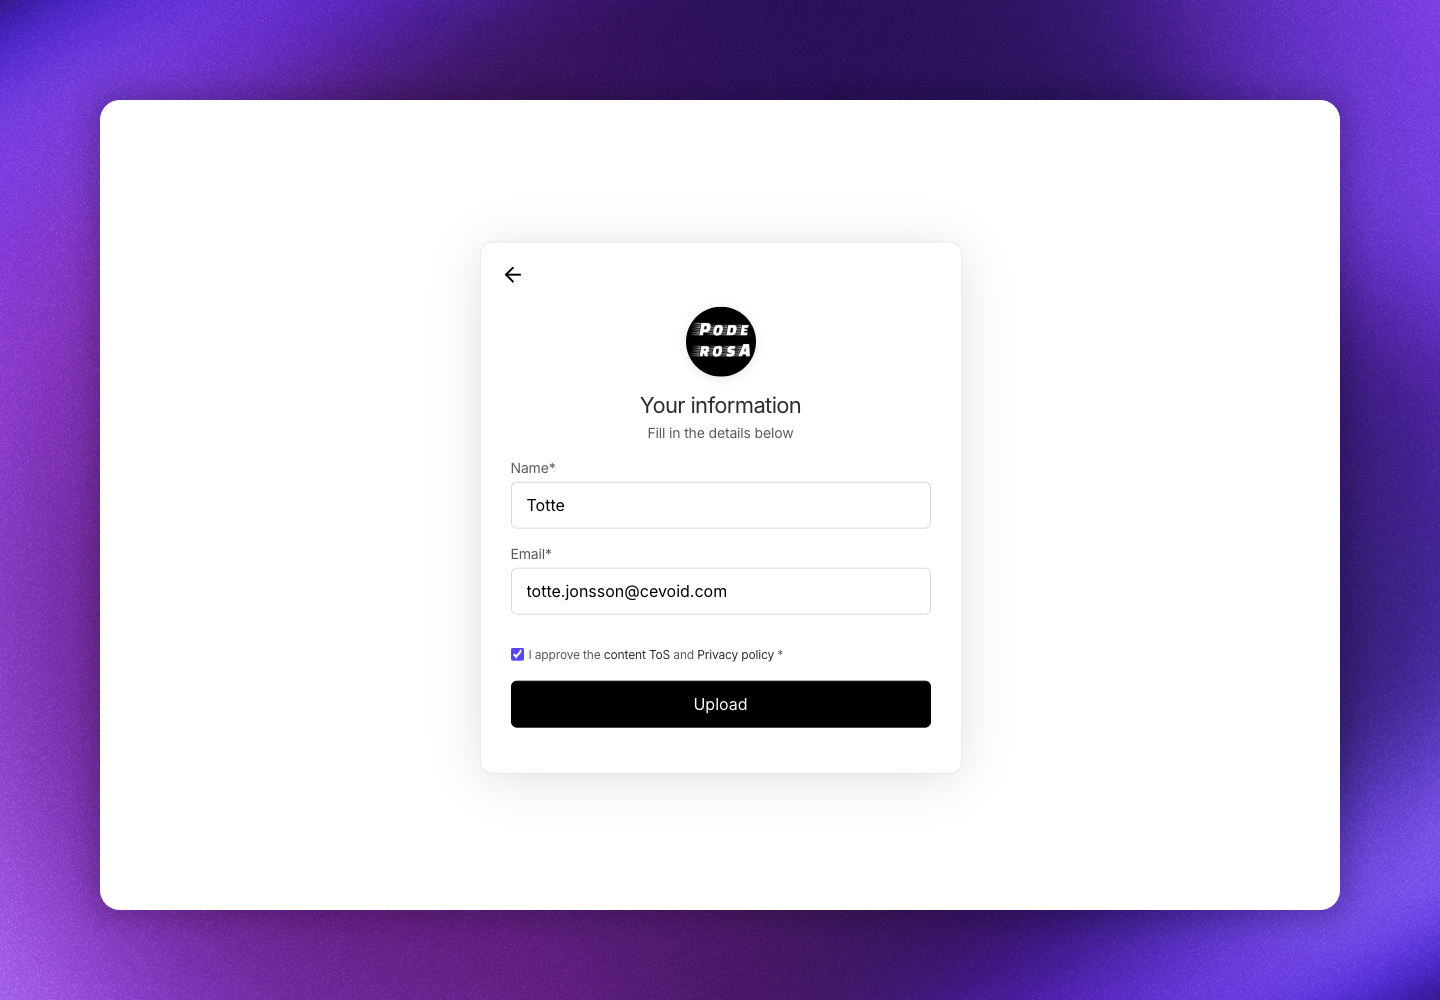
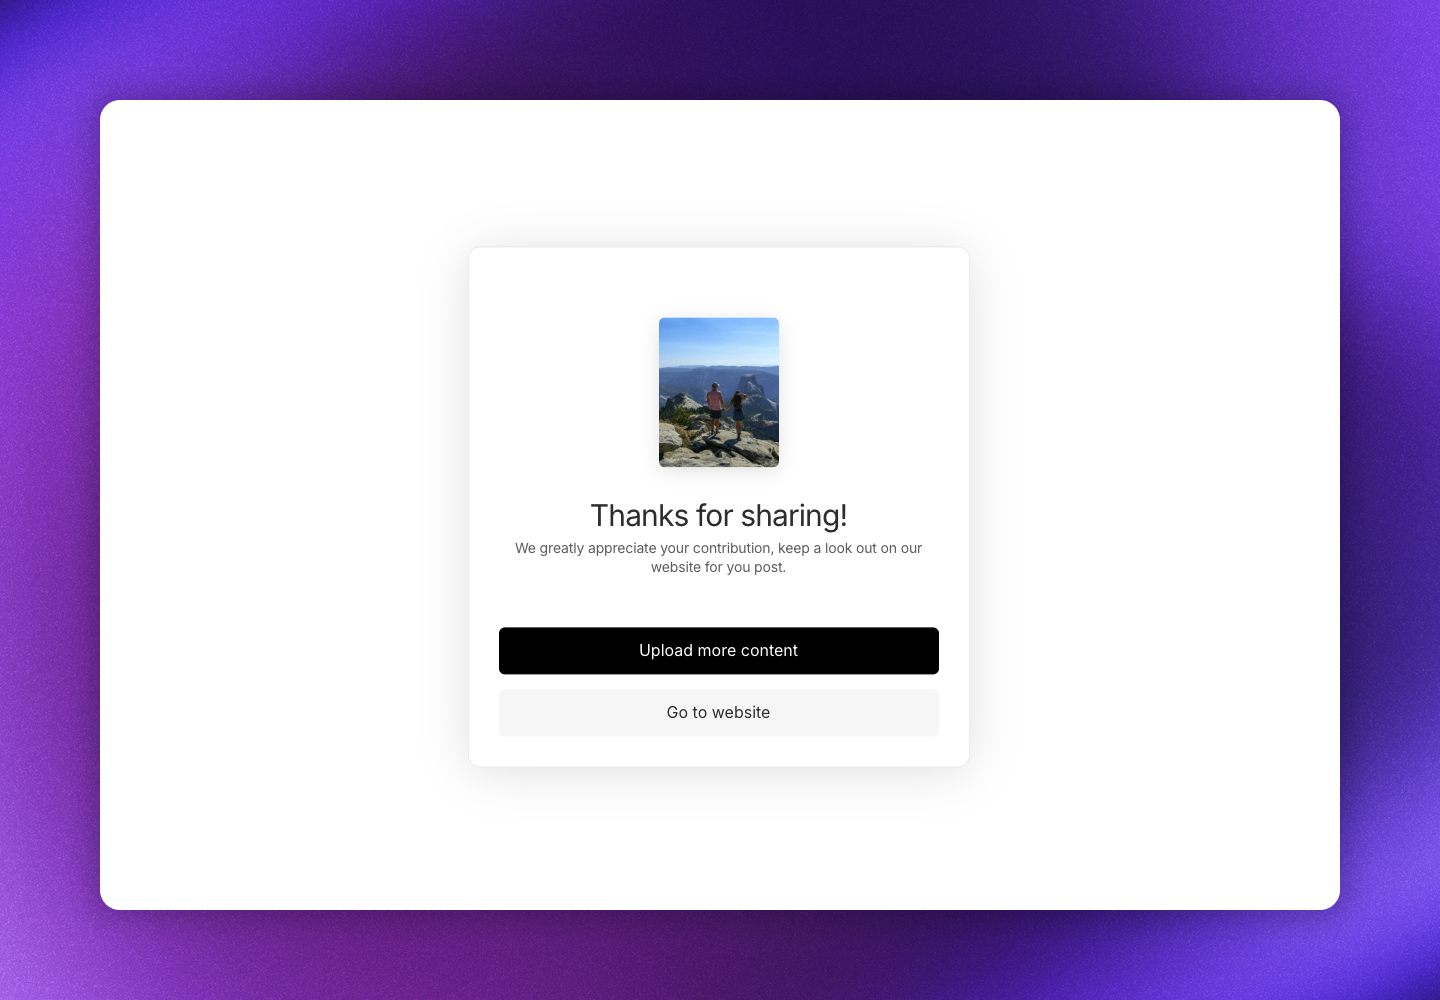
Customer experience
This is what customers see when they use your upload form. Step 1: Customer is presented with the upload form and clicks Upload to select photos and videos from their device.