Labels let you define custom categorizations for posts and profiles. Use them to organize content and your brand community beyond Cevoid’s built-in categorizations.
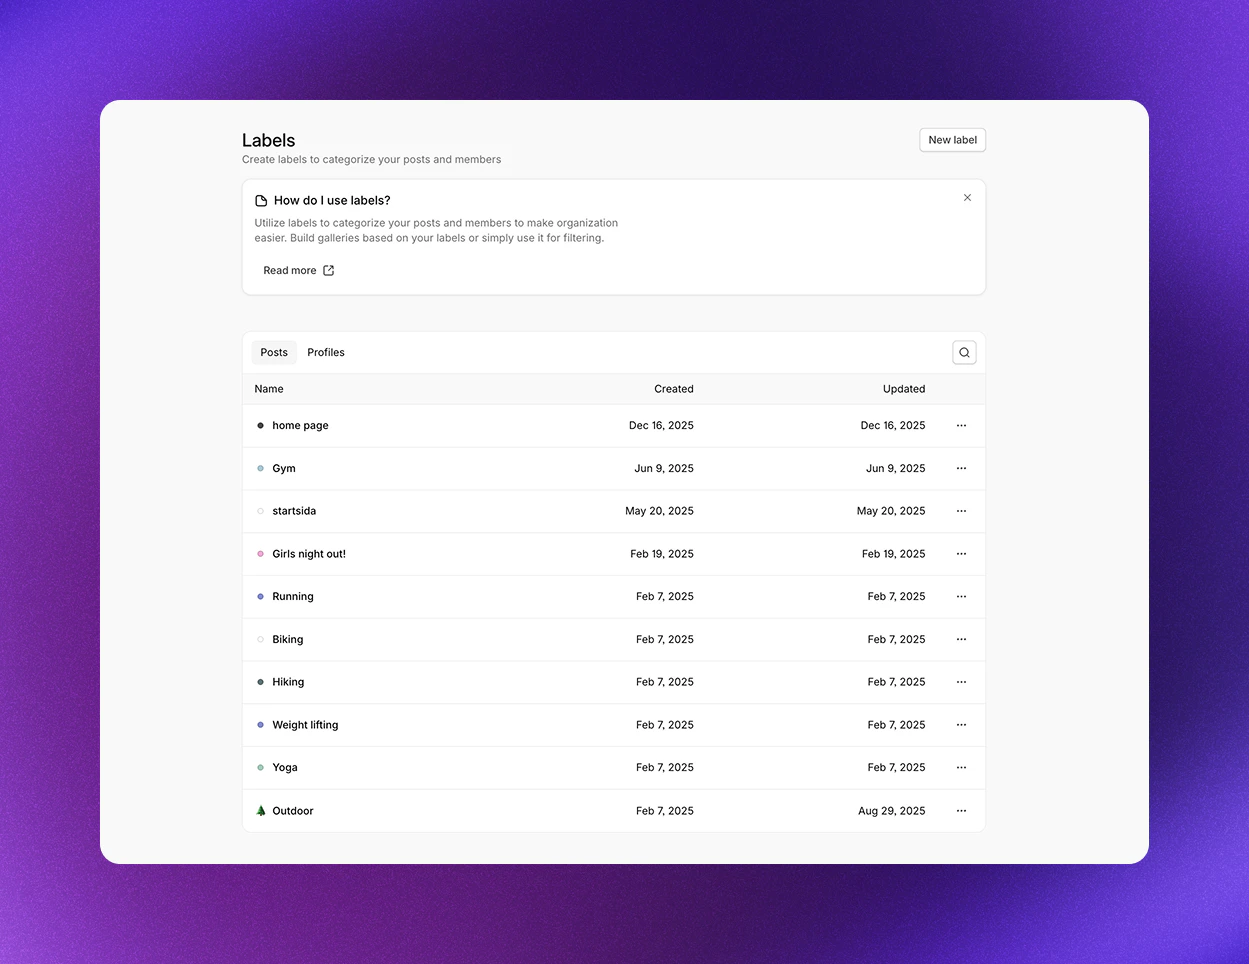
Navigate to Settings -> Labels to manage your labels.
Post labels
Post labels let you categorize your posts freely. Use them to:
In most cases, you don’t need to create post labels related to your product catalog. Instead, add product tags to a post to automatically relate the post to the product, its categories, and product collections.
Create a post label
From the Labels view:
- Navigate to Settings -> Labels
- Select Post as label type
- Enter the name of your new post label
- Optional: Add a color or emoji to make your label more visually unique
- Click Create
From the Post view:
- Open a post from the Library or Inbox
- Click Add label
- Enter the name of your new post label
- Click New label: (the name you entered)
Profile labels
Profile labels let you categorize your profiles freely. Use them to:
Create a profile label
From the Labels view:
- Navigate to Settings -> Labels
- Select Profile as label type
- Enter the name of your new profile label
- Optional: Add a color or emoji to make your label more visually unique
- Click Create
From the Profile view:
- Navigate to a profile page
- Click Add label under Properties in the sidebar
- Enter the name of your new profile label
- Click New label: (the name you entered)