Related articles:
Instagram integration, Instagram feed sync, Library & Inbox, Posts
UGC that Cevoid tracks
Cevoid automatically detects Instagram posts, carousels, and Reels related to your connected Instagram accounts.Mentioned posts
Cevoid continuously syncs mentioned posts created after you connected your Instagram account. Historical mentioned posts cannot be imported.Tagged posts
Cevoid continuously syncs tagged posts created after you connected your Instagram account. Cevoid also imports tagged posts from one year before you connected. Import older tagged posts:- Navigate to Settings -> Integrations -> Instagram
- Select the correct Instagram account
- Click Import under Want to import more tagged posts?
- Select the date you want to import tagged posts from
- Click Import
Hashtagged posts
Cevoid continuously syncs hashtagged posts created after you started tracking the hashtag. Historical hashtagged posts cannot be imported. You can track up to 30 hashtags. Start tracking a hashtag:- Navigate to Settings -> Integrations -> Instagram
- Click Track hashtag
- Enter the hashtag you want to track
- Click Create hashtag
Finding new Instagram posts
All new Instagram UGC posts appear under UGC -> Instagram. From this page you can:- Review new posts where your brand was mentioned or tagged
- See posts from your tracked hashtags
- Send usage rights requests
- Get instant access to posts you already have rights to use
- Remove posts you don’t want to use
Get access to an Instagram post
Before you can use a detected Instagram post, you need to retrieve access to it. Once you have access, the post moves to your UGC Inbox. Three ways to get access:Instant access
If you already have the creator’s permission to use a specific post, mark it as direct access and push it to your UGC Inbox.- Navigate to UGC -> Instagram
- Click on the post
- Click Direct access
For hashtagged posts, you also need to assign the post to a profile, or add the creator’s Instagram handle if they don’t exist as a profile in your workspace yet.
Whitelist a creator
Skip all requests and get instant access to all tagged and mentioned posts from a creator by changing their Instagram rights settings.Only posts where the creator has mentioned or tagged you are saved.
- Navigate to Profiles
- Click Create profile
- Enter their Instagram handle
- Click Create profile
- Open their profile
- Click the dropdown under Instagram -> Rights
- Select your preferred option
Sending rights requests
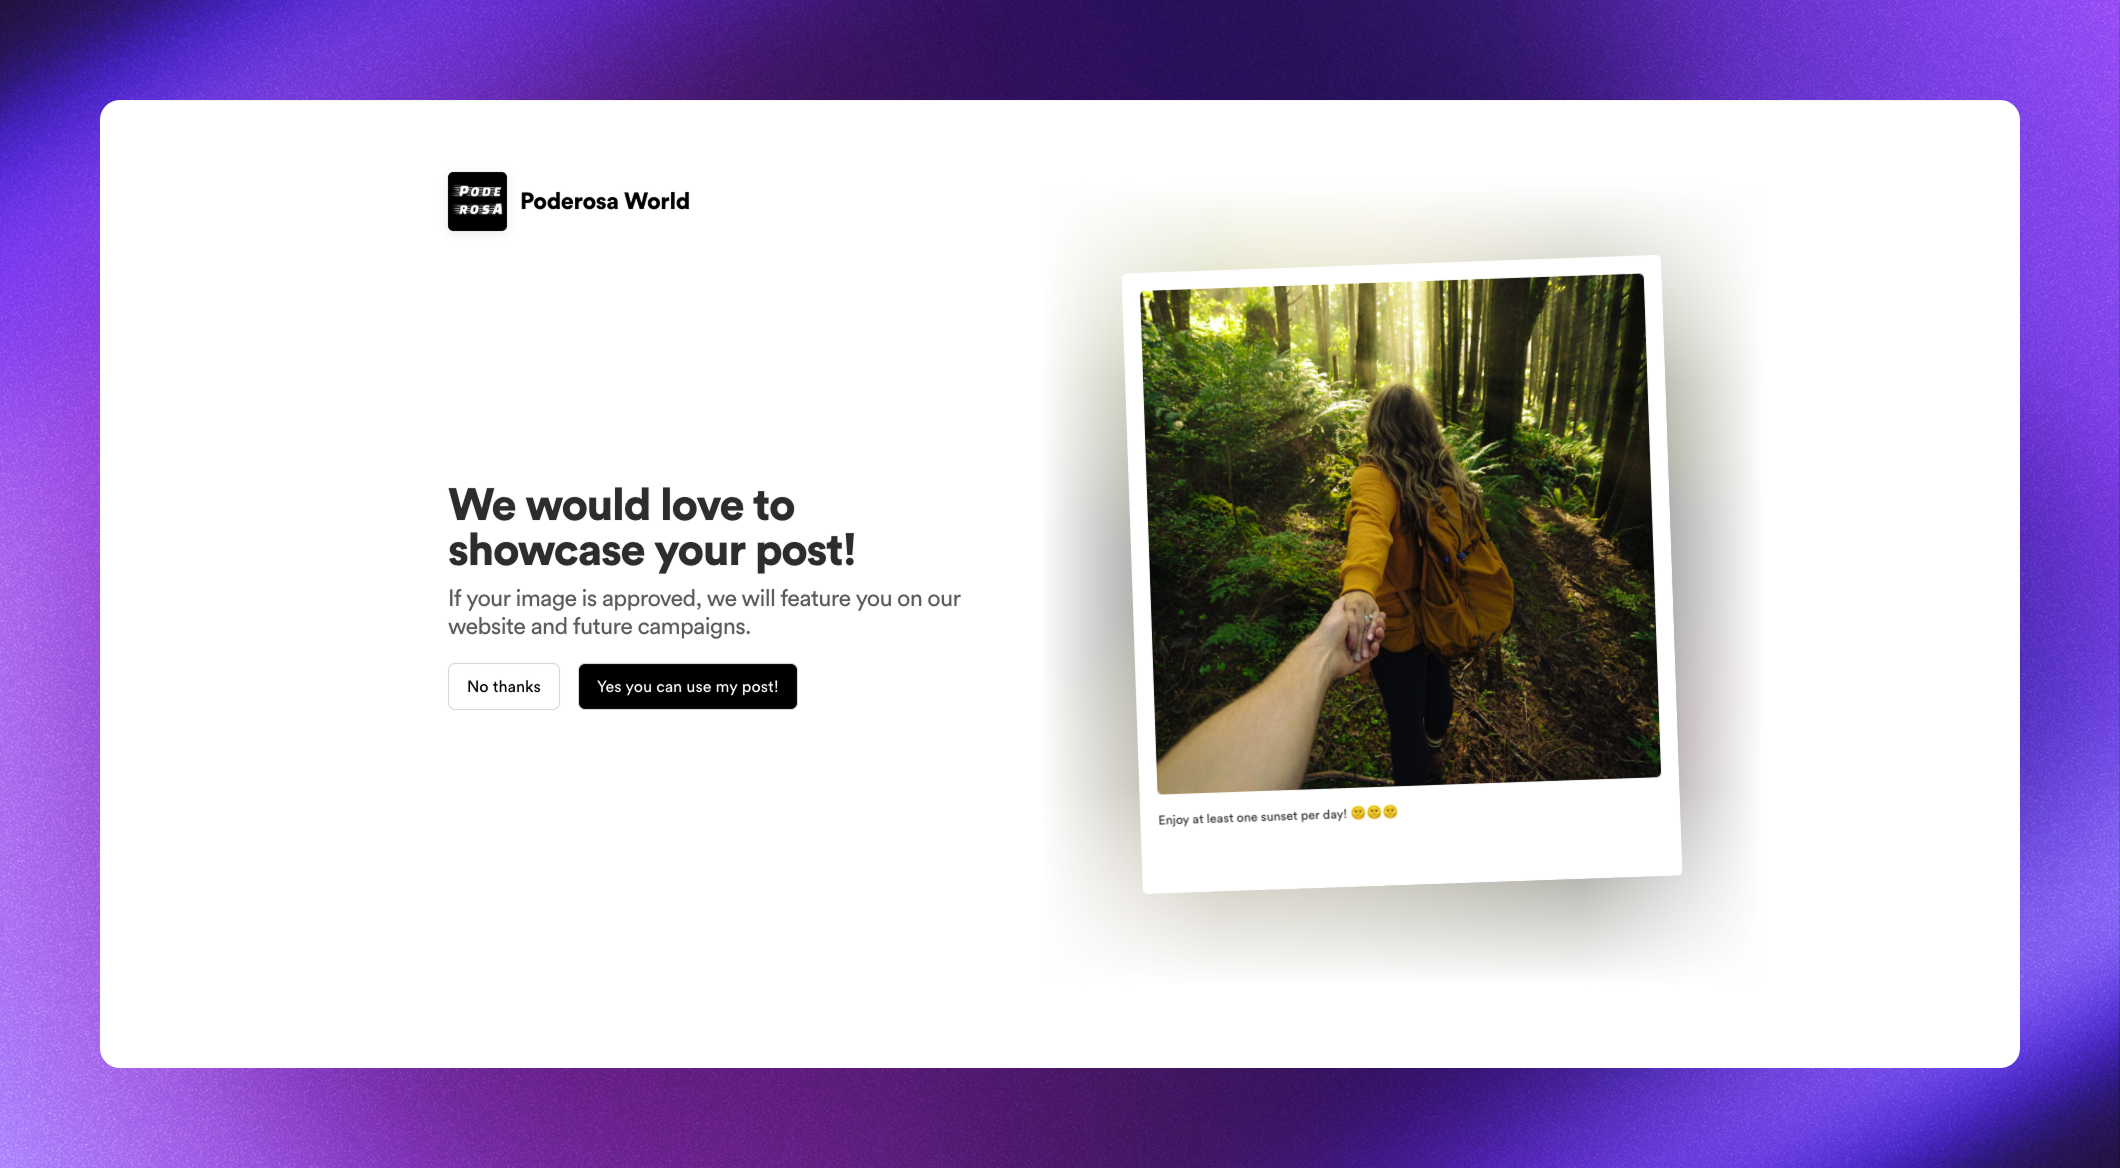
When you find Instagram content you want to use but need the creator’s permission, Cevoid provides two methods: DM requests and comment requests. Both methods can be used at the same time.Request messages should link to a page on your website that contains your content consent policy. See Content consent example for a template.
Both methods use templates, allowing you to define reusable messages. There is no limit to how many DM request templates you can create.
Comment requests
Your request template includes instructions for the creator to respond with a specific approval hashtag (e.g., #yesBRANDNAME). Cevoid automatically monitors the post for the approval hashtag response. When the creator responds, the post is automatically approved and moved to your Inbox. Send a comment request:- Navigate to UGC -> Instagram
- Click Request on the post you want to use
- Select a comment request template
- Send your request message:
- For mentioned posts: Click Send request
- For tagged and hashtagged posts: Copy the message, click Open Post, paste as a comment on Instagram, then return to Cevoid
- Click I’ve sent the request
- Navigate to Settings -> Integrations -> Instagram
- Click Edit in the request templates section
- Select Comments
- Click New message to create a new template, or click the edit icon on an existing template
- Name your template under Title
- Add the hashtag the creator should use to approve your request
- Under Terms of Service, select one of your saved Legal content terms or enter a custom URL
- Write your request message and include the dynamic values
- Click Save
Example comment request template:
“We just love this picture 🥰 Is it possible for us to use this picture on our website and social media channels? Please reply to this comment with %handle% and %approveHashtag% if you approve. Go to %terms% for more information. Have a beautiful day!”
DM requests
Creators can whitelist themselves as part of the DM approval flow.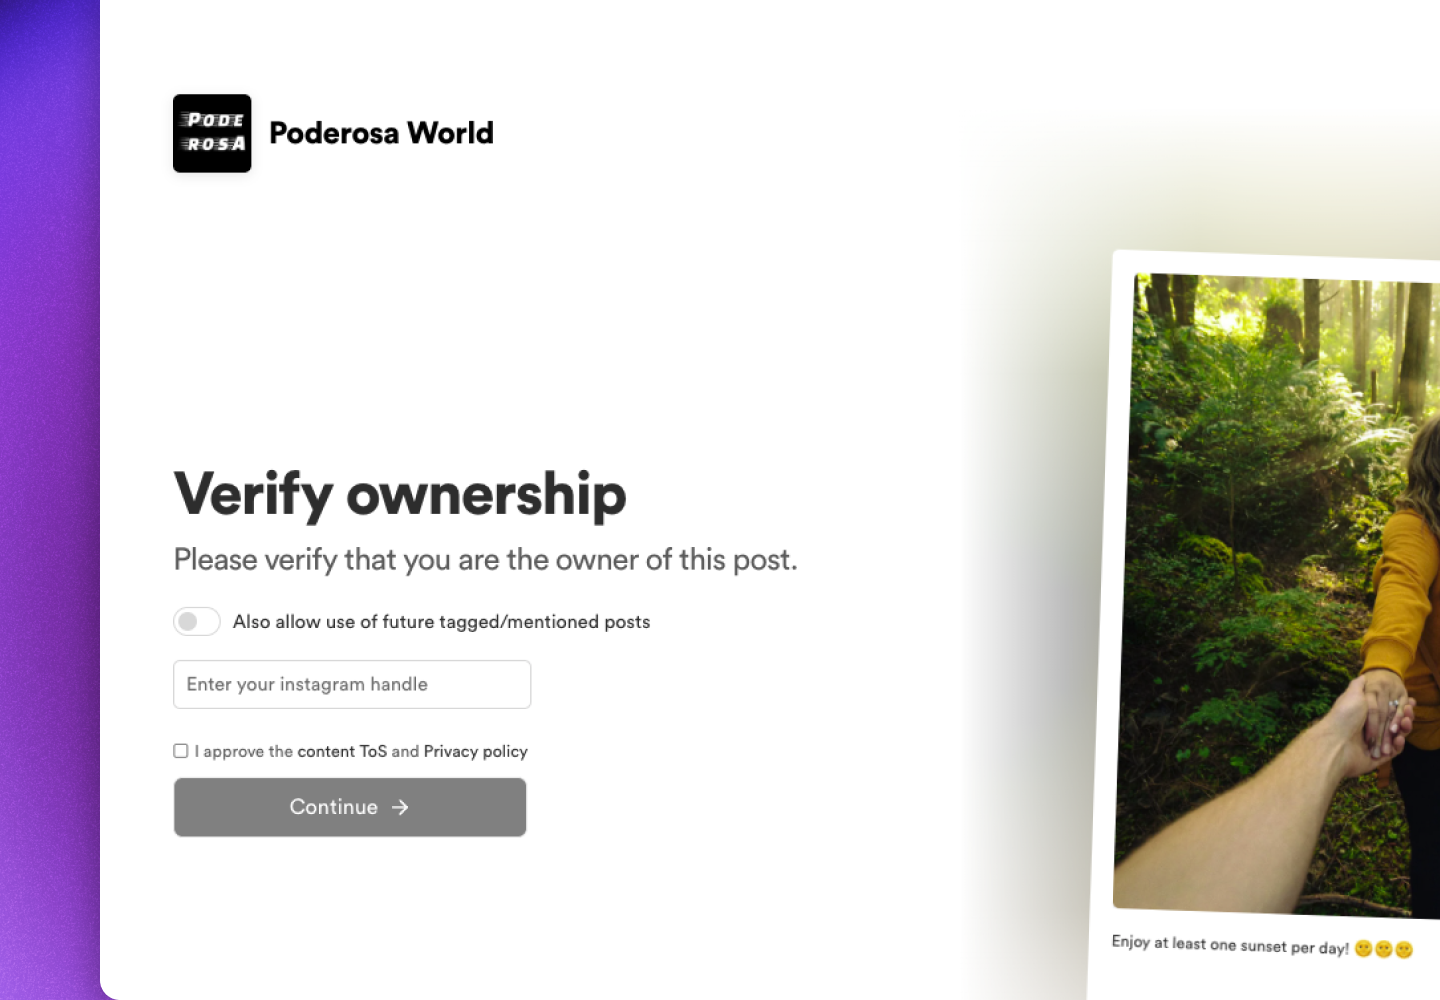
- Navigate to UGC -> Instagram
- Click Request on the post you want to use
- Click Open Post to access Instagram in a separate window
- Copy the creator’s Instagram username
- Create a new message to the creator using their username
- Return to Cevoid
- Select a DM request template
- Copy the request message (includes unique approval URL)
- Open the Instagram window
- Paste and send the request message
- Return to Cevoid and click I’ve sent the request
- Navigate to Settings -> Integrations -> Instagram
- Click Edit in the request templates section
- Select Direct Messages (DM)
- Click New message to create a new template, or click the menu icon on an existing template
- Name your template under Title
- Under Terms of Service, select one of your saved Legal content terms or enter a custom URL
- Write your request message
- Click Save
End your message with a reference to the request URL since Cevoid appends the approval link after your template text.
Tracking request status
Monitor pending requests to follow up when needed.- Navigate to UGC -> Instagram
- Click Requested posts in the upper right corner
- Select a request status to filter