Related articles:
Instagram integration, Library & Inbox
Calendar overview
The calendar shows all scheduled and published posts. Filter by:- Date range
- Post status - Draft, Scheduled, Published, Failed
- Account - Connected social accounts
- Platform - Instagram or Facebook
- Post type
Duplicate posts
Duplicate a post to schedule the same content to another platform or account.- Right-click on the post
- Select the account you want to duplicate to
- Adjust the caption or other information
- Click Schedule post
- Select the date and time
- Click Schedule
Instagram posts, reels, and carousels
These post types are published automatically at your scheduled time and share the same flow with minor differences.For carousels, product tags and usernames can only be added to images, not videos.
1
Select content
From Social scheduling:
- Navigate to Social scheduling
- Click Schedule
- Select Instagram Reel, Instagram Image, or Instagram Carousel
- Select the Instagram account to publish to
- Select content from your library, or click Upload to add new content
- Click Select posts to continue
- Navigate to UGC -> Library
- Select the content you want to schedule
- Click Social scheduling (or select Schedule as bulk action for carousel)
- Select the post type and Instagram account
- Click Select posts to continue
For carousels, select multiple images and videos. For reels and image posts, select one piece of content.
2
Crop and adjust
- Select the aspect ratio for your post
- Optional: Scroll over the content to crop, drag to reposition
- Click Next step
For carousels, the aspect ratio of the first item applies to all. Drag and drop items in the bottom view to reorder.
3
Trim video (Reels only)
For reels, you can:
- Trim the video length
- Disable audio
4
Tag products
Add products from your Instagram shop to make the post shoppable.
- Click Add product
- Search for the product in your Instagram shop catalog
- Click Add product and place it in the image
- Click Done
- Click Next step
You can add up to 5 product tags. For carousels, repeat for each content piece. Products cannot be tagged in carousel videos.
5
Tag usernames (Image and Carousel only)
Tag Instagram users in your post.
- Click Add person
- Click where you want the tag to appear
- Enter the Instagram username
- Click Save
- Click Next step
You can tag up to 20 usernames. For carousels, usernames cannot be tagged in videos.
6
Add caption and first comment
Write your caption and optionally add a first comment that publishes automatically when the post goes live.
- Tagged products are listed - click to copy the product name
- Tagged usernames are listed - click to copy the handle
7
Schedule
- Click Schedule post
- Select the date and time to publish
- Click Schedule
Instagram stories
Share content to your Instagram story. Stories can be auto-published or scheduled as reminders for manual posting when you need features like links, music, or text overlays.Schedule a story
Stories are published automatically at your scheduled time. They don’t support product tags, username tags, or captions.1
Select content
From Social scheduling:
- Navigate to Social scheduling
- Click Schedule
- Select Instagram Story
- Select the Instagram account to publish to
- Select images and/or videos, or click Upload to add new content
- Click Select posts to continue
- Navigate to UGC -> Library
- Select the images and videos you want to schedule
- Select Schedule as bulk action
- Select Instagram Story and the Instagram account
- Click Apply action
- Click Select posts to continue
You can include up to 10 images and/or videos per story. They publish directly after each other.
2
Crop and adjust
- Select the aspect ratio (applies to all items)
- Optional: Drag and drop items to reorder
- Optional: Scroll over content to crop, drag to reposition
- Click Next step
3
Schedule
- Click Schedule post
- Select the date and time to publish
- Click Schedule
Schedule a story reminder
Story reminders are not auto-published. A team member receives an email reminder with everything needed to manually publish the story. Use this when you need features like links, music, or text overlays.1
Select content
From Social scheduling:
- Navigate to Social scheduling
- Click Schedule
- Select Instagram Story reminder
- Select the Instagram account
- Select images and/or videos, or click Upload to add new content
- Click Select posts to continue
- Navigate to UGC -> Library
- Select the images and videos you want to schedule
- Select Schedule as bulk action
- Select Instagram Story reminder and the Instagram account
- Click Apply action
- Click Select posts to continue
You can include up to 10 images and/or videos per story reminder.
2
Crop and adjust
- Select the aspect ratio (applies to all items)
- Optional: Drag and drop items to reorder
- Optional: Scroll over content to crop, drag to reposition
- Click Next step
3
Add reminder information
Add information for each content piece that the team member will need when publishing:
4
Schedule the reminder
- Click Schedule post
- Select when you plan to publish the story
- Select how long before that you want to receive the reminder
- Select which team member should receive the reminder
- Click Schedule
5
Publish manually
When the reminder is triggered, the selected team member receives an email with a link containing all the information needed.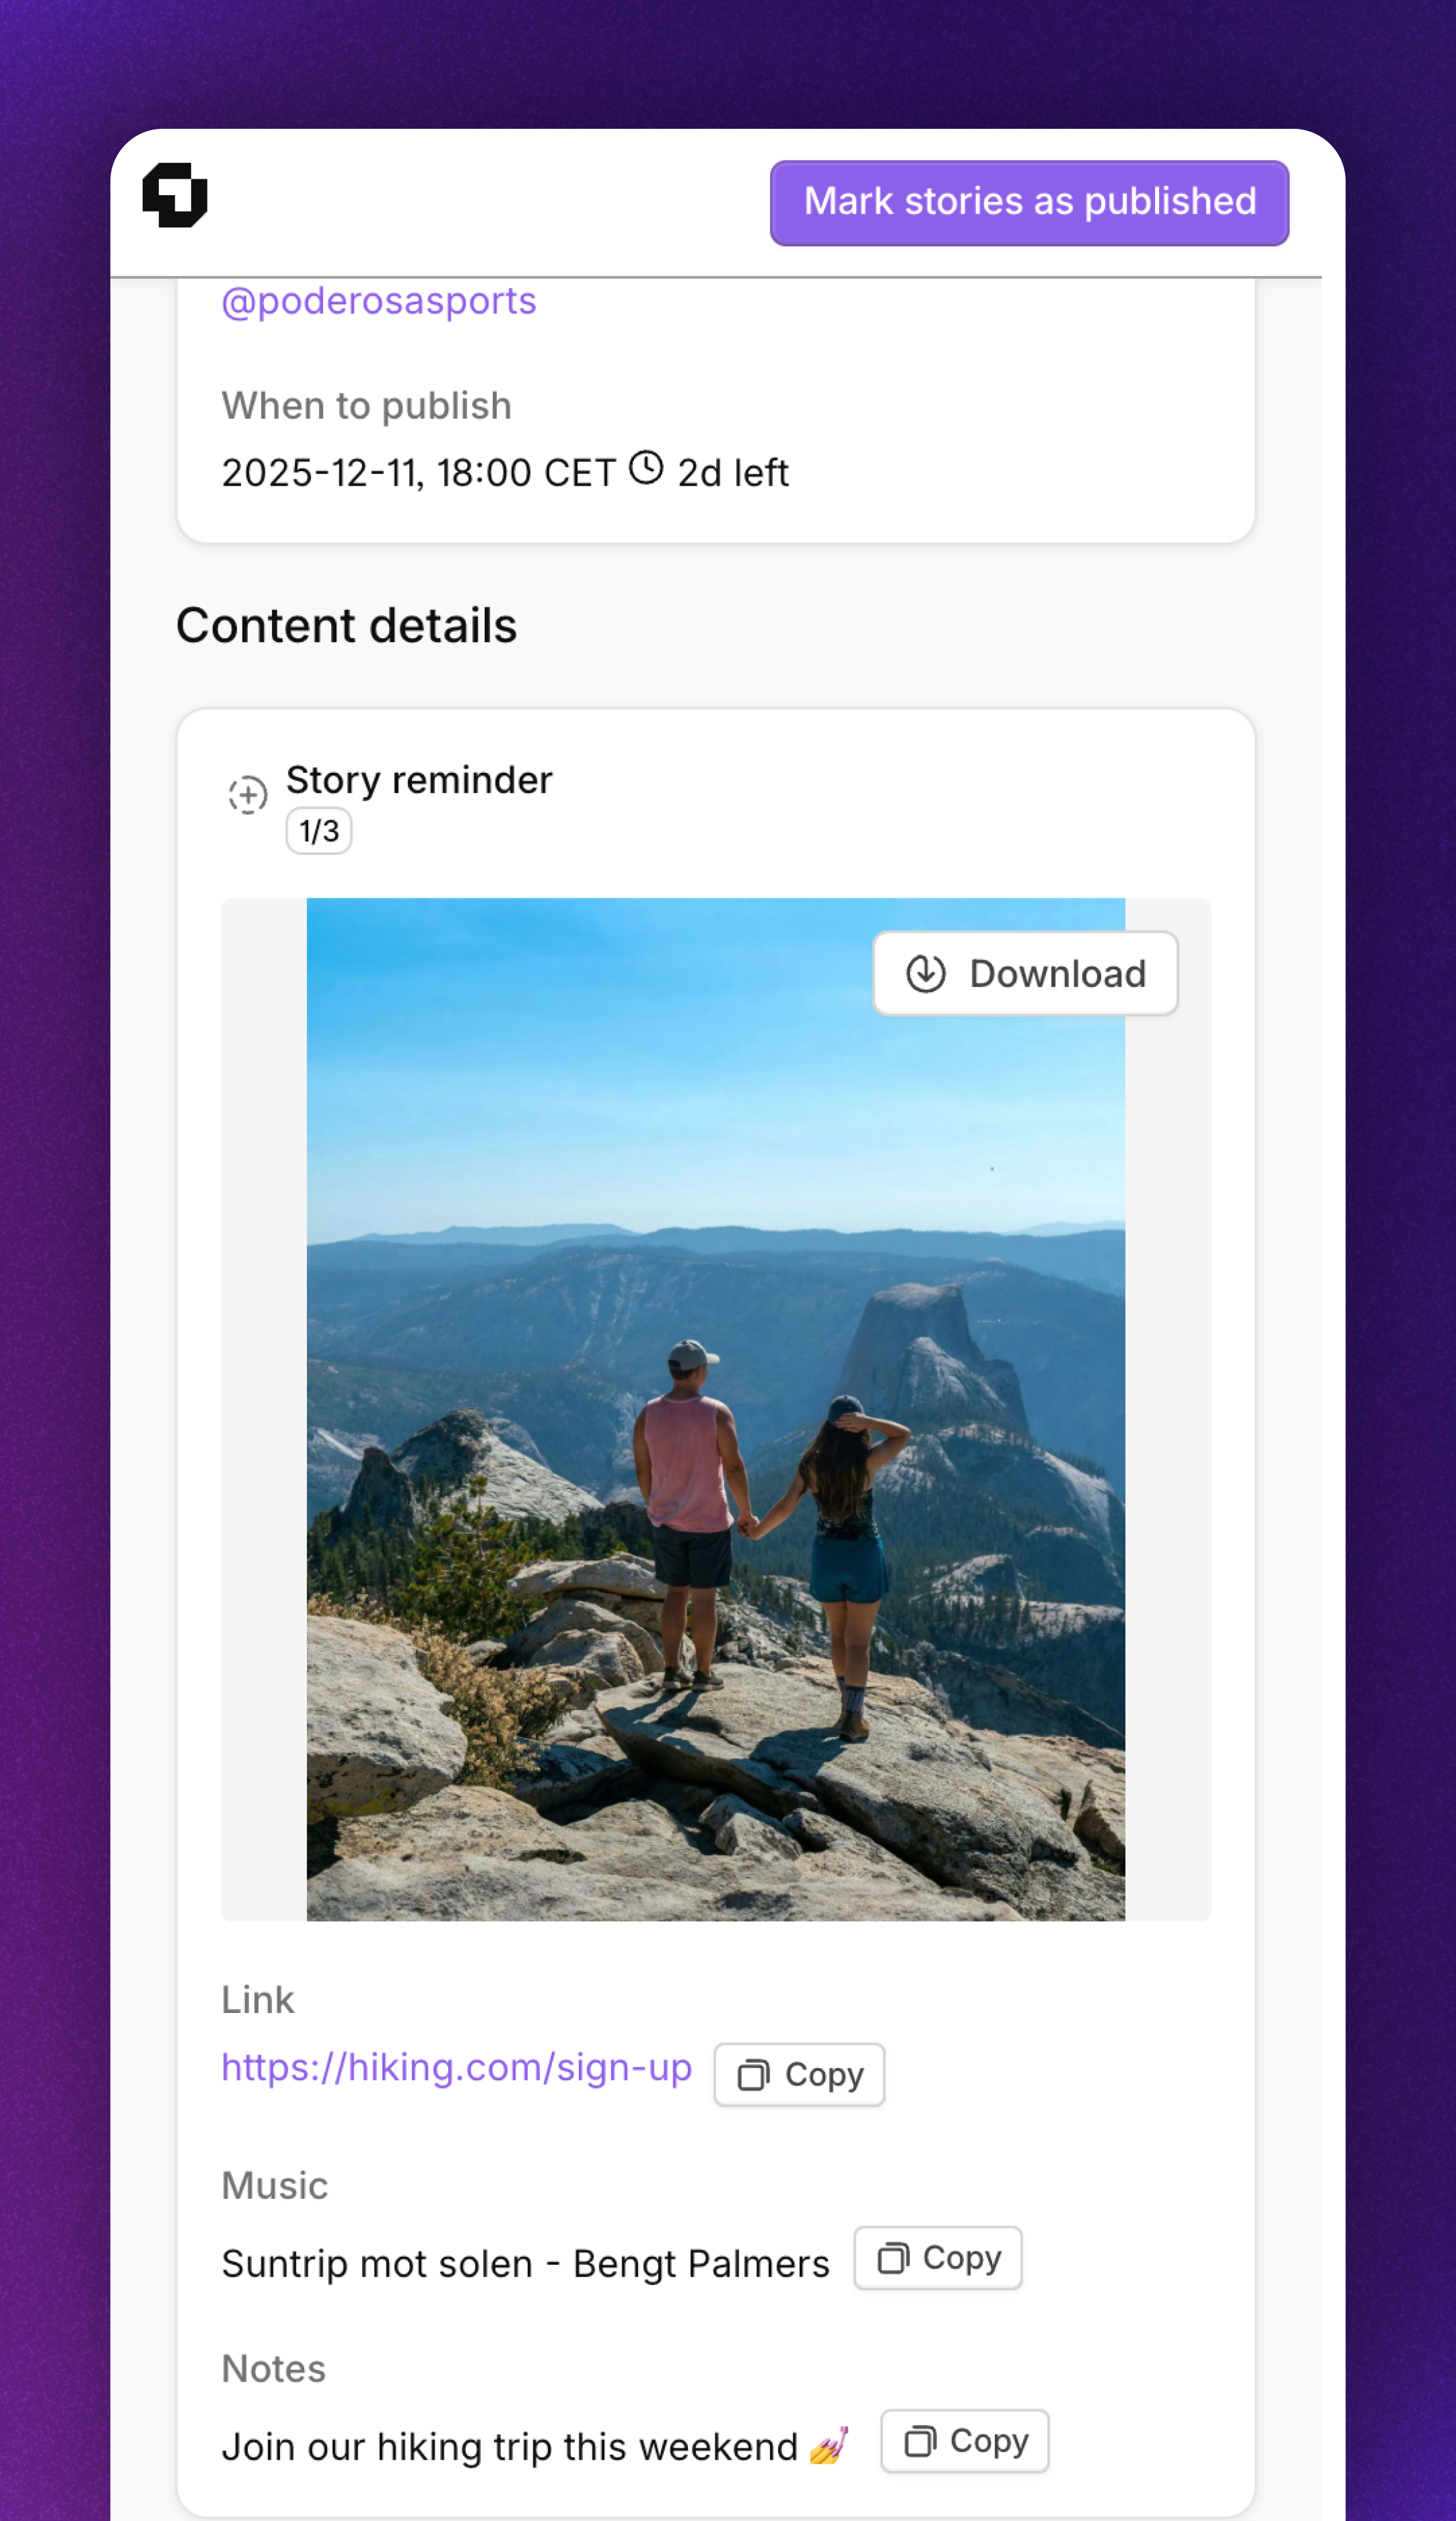
- Open the link from the email
- Download the content to your device
- Open Instagram and create a story
- Add the link, music, or text from your reminder
- Publish the story
- Repeat for each piece of content
- Click Mark stories as published in Cevoid
Facebook posts and videos
Facebook posts and videos are published automatically at your scheduled time.Schedule a Facebook post or video
1
Select content
From Social scheduling:
- Navigate to Social scheduling
- Click Schedule
- Select Facebook post or Facebook video
- Select the Facebook account to publish to
- Select content from your library, or click Upload to add new content
- Click Select posts to continue
- Navigate to UGC -> Library
- Select the content you want to schedule
- Select Schedule as bulk action
- Select the post type and Facebook account
- Click Apply action
- Click Select posts to continue
Facebook posts can include up to 10 images and/or videos. Facebook videos are single videos only.
2
Crop and adjust
- Select the aspect ratio
- Optional: Drag and drop items to reorder (posts with multiple items)
- Optional: Scroll over content to crop, drag to reposition
- Click Next step
3
Schedule
- Click Schedule post
- Add the text for your post
- Select the date and time to publish
- Click Schedule